A new roof is a significant investment, and ensuring its proper installation is critical for its durability. Roof inspections serve as a valuable tool in this process, allowing homeowners to verify that their new roof has been installed correctly and identify any potential issues early.
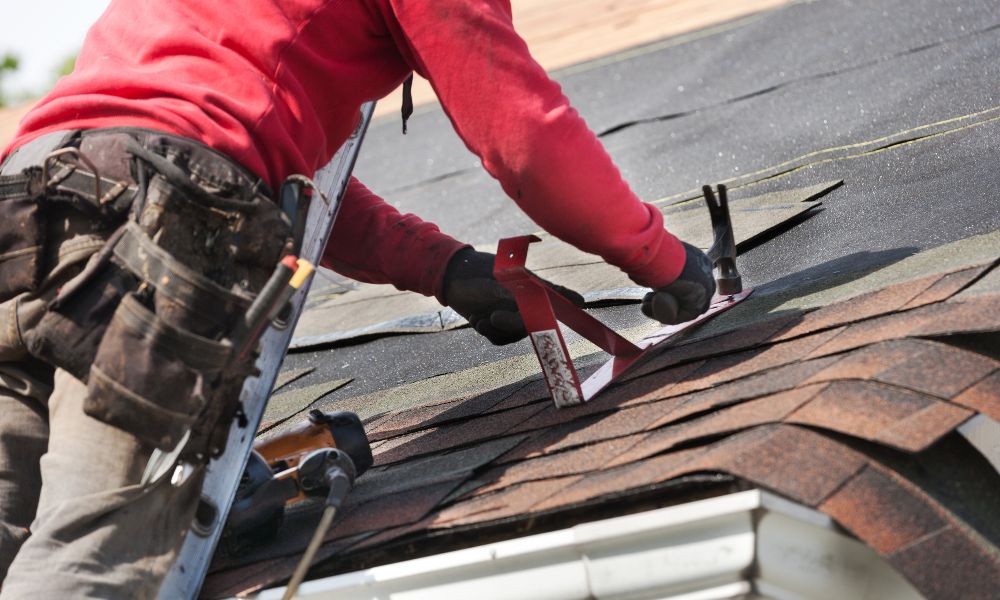
Roof inspections should be conducted both during the installation process and after it’s completed. During the installation, periodic checks are essential to ensure that the roofing materials are being applied correctly and according to manufacturer guidelines. Once the roof is installed, a final comprehensive inspection should be made to confirm that all elements of the roof system — including underlayment, shingles, flashing, gutters, vent pipes, chimneys, etc., — have been installed correctly.
A post-replacement analysis adds an extra level of security to your roofing project. It involves inspecting the performance of your new roof over time and identifying any potential issues before they turn into major problems. Regular post-installation inspections can also extend your roof’s lifespan by catching minor issues that may escalate if left unnoticed.
Hiring a Roofer in Brookeville, MD: Understanding the Significance of Roof Inspections for Newly Installed Roofs
Roof inspections for newly installed roofs hold immense significance for several reasons:
- Identifying Installation Errors: Even with experienced roofing contractors, errors can occur during installation. An inspection can detect these mistakes early on.
- Ensuring Product Integrity: Not all roofing materials are created equal. Inspections allow homeowners to ensure their roofing materials meet quality standards.
- Verifying Compliance with Building Codes: Building codes vary depending on location. Professional inspectors will ensure your new roof complies with local regulations.
- Maintaining Warranty Coverage: Many manufacturers require regular inspections to maintain warranty coverage.
Choosing the Right Roofing Companies in Brookeville, MD: A Detailed Guide
- Check shingle alignment: The shingles should be straight and aligned correctly along each row.
- Examine flashing: The flashing around chimneys, vent pipes, and other roof penetrations should be securely installed and sealed.
- Inspect gutters: Gutters should be free from debris and correctly sloped to allow water runoff.
- Check the attic: Check for signs of moisture or leaks in the attic after a rainstorm.
- Assess ventilation: Proper ventilation is essential to prevent heat and moisture buildup in your attic, which can lead to mold growth and shingle damage.
Hiring Roofing Contractors in Brookeville, MD vs DIY Roof Inspection: An Evaluation
While homeowners can conduct basic inspections themselves, there are benefits to hiring a professional inspector:
- Expertise: Professionals are trained to spot issues that homeowners might overlook.
- Equipment: They have the necessary tools to carry out an inspection safely and effectively.
- Documentation: A professional inspection provides documented proof of your roof’s condition — useful for insurance purposes or if you plan to sell your home.
However, cost might deter some homeowners from hiring a professional. If you choose the DIY route, make sure you know what to look for and always prioritize safety.
Choosing the Right Roofing Contractor in Brookeville, MD: Avoid Failed Inspections with a Quality New Roof Installation
If your new roof fails its inspection:
- Review the inspection report thoroughly.
- Discuss the findings with the roofing contractor who performed the installation.
- Determine if any of the problems fall under warranty coverage.
- Schedule necessary repairs or replacements as soon as possible.
Remember, it’s essential not to ignore failed inspections — they’re a sign there could be significant issues with your new roof that need addressing immediately.
When it comes to the longevity and integrity of your home, installing a new roof is a significant investment. Although you may have selected top-quality materials and trusted a reputable contractor for installation, it’s crucial to conduct a comprehensive inspection of the newly installed roof. This step helps ensure that everything was put in place correctly and there are no visible problems or potential issues down the road.
Identification of Installation Errors
Most importantly, a thorough roof inspection can reveal whether any installation errors occurred during construction. From misplaced nails to improper shingle alignment, these mistakes may not be evident immediately but can cause significant damage over time. An inspection helps identify such issues early, potentially saving homeowners from costly repairs or premature roof replacement.
Warranty Validation
Many roofing material manufacturers provide warranties that only kick into action if the installation was executed according to their guidelines and if regular maintenance is performed. A post-installation roof inspection by an accredited professional can provide documentation confirming these conditions were met, fortifying the validity of your warranty.
Ensuring Energy Efficiency
A well-insulated and properly installed roof contributes significantly toward energy efficiency in a home. A post-installation inspection verifies whether insulation was appropriately applied and seals were effectively done—ensuring that homeowners can reap maximum benefits from their new roof.
Post-Installation Cleanliness
Post-construction mess can be detrimental to your roofing system. Leftover nails, debris or other construction materials can puncture newly installed shingles or create blockages in gutters, leading to water damage. An immediate post-construction inspection ensures all debris is removed and reduces risks related to leftover materials.
Here’s a brief snapshot highlighting why regular inspections matter:
| Importance of Regular Roof Inspections | Description |
| Identification of Installation Errors | Spotting any errors early on saves homeowners from expensive future repairs |
| Warranty Validation | An inspection by accredited professionals ensures your warranty stays intact |
| Ensuring Energy Efficiency | Verifies if insulation was applied correctly and seals were effectively done |
| Post-Installation Cleanliness | Ensures all leftover materials and debris are removed |
In sum, understanding the significance of roof inspections for newly installed roofs is crucial for every homeowner. While it may seem like an unnecessary step after a thorough professional installation, it’s an integral part of protecting your investment and ensuring the longevity of your new roof. Regular inspections can prevent minor issues from becoming major problems, thus saving you time, effort, and money in the long run.
Roof inspection is an essential part of maintaining your property. Whether you’ve recently had a new roof installed or just want to ensure that your old one is still in good shape, there are specific steps you can take to carry out an effective inspection. This comprehensive checklist provides a step by step approach to inspecting your new roof.
Start with the Inside: Roofing in Brookeville, MD
Before going up the ladder, it’s best to start with an internal roof inspection. This involves examining your ceiling and attic for any visible signs of leakage, such as water stains, dampness or mold growth.
2. Inspect the Roof Surface
Now it’s time to head outside and check the exterior part of the roof. Use a reliable ladder and always have someone on the ground for safety reasons.
- Shingles: Check if any shingles are missing, cracked, curled or blistered. Also look for any loose material or wear around chimneys, vents or pipes.
- Flashing: Examine these areas thoroughly because they are prone to leaks if not correctly installed.
- Gutters and Downspouts: Ensure they are securely attached and clear any debris which could cause blockages.
3. Check Roof Structures
This involves inspecting the chimney, vents and other structures that protrude from your roof.
- Chimney: Check for cracked mortar or loose bricks and ensure that chimney caps are intact.
- Vents: Look for rust spots on metal vents and check plastic ones for cracks.
4. Inspect Attic Ventilation
Ensuring proper attic ventilation is crucial as it can significantly impact the lifespan of your roof.
- Ventilation Points: Confirm they exist and aren’t blocked by dirt, debris or insulation.
- Moisture and Mold: Look out for any signs indicating the presence of these, as they’re a clear sign that your ventilation is lacking.
5. Check the Roof’s Drainage System
An effective roof inspection also involves ensuring that the water runoff system is functional.
- Gutters and downspouts: Ensure they are free from debris.
- Water Flow: Pour some water into your gutters to check if it drains out through the downspouts properly.
After carrying out these steps, you should have a good understanding of the state of your new roof. However, remember that while DIY checks are beneficial, it’s also crucial to schedule regular professional inspections. They can spot issues which might be less obvious and will help in maintaining the longevity and functionality of your new roof.
Roof inspections are essential after installing new roofing to ensure the quality of the project and to identify any potential issues at their earliest stages. While some homeowners prefer to conduct these inspections themselves (DIY), others prefer hiring professional roof inspectors for this task. This section will evaluate these two perspectives.
DIY Roof Inspection
Pros:
- Cost-Efficient: Doing it yourself eliminates the cost of hiring a professional, which can range anywhere from $100-$500, depending on your location and the size of your roof.
- Convenience: You can inspect your roof at any time that suits you without having to schedule an appointment.
Cons:
- Lack of Expertise: Professionals have years of experience and training, which might enable them to spot issues that you may overlook.
- Safety Risks: Walking around on a roof can be dangerous, especially if it is high or steep. Without proper training and safety gear, you risk injury.
Hiring a Professional
Pros:
- Expertise: A professional roof inspector has extensive knowledge about different roofing materials, installation processes, weather effects, etc. They are trained to spot even minor issues that an untrained eye might miss.
- Detailed Report: Most professionals provide a detailed inspection report which often includes photos and descriptions of any issues found as well as their recommended repairs or maintenance.
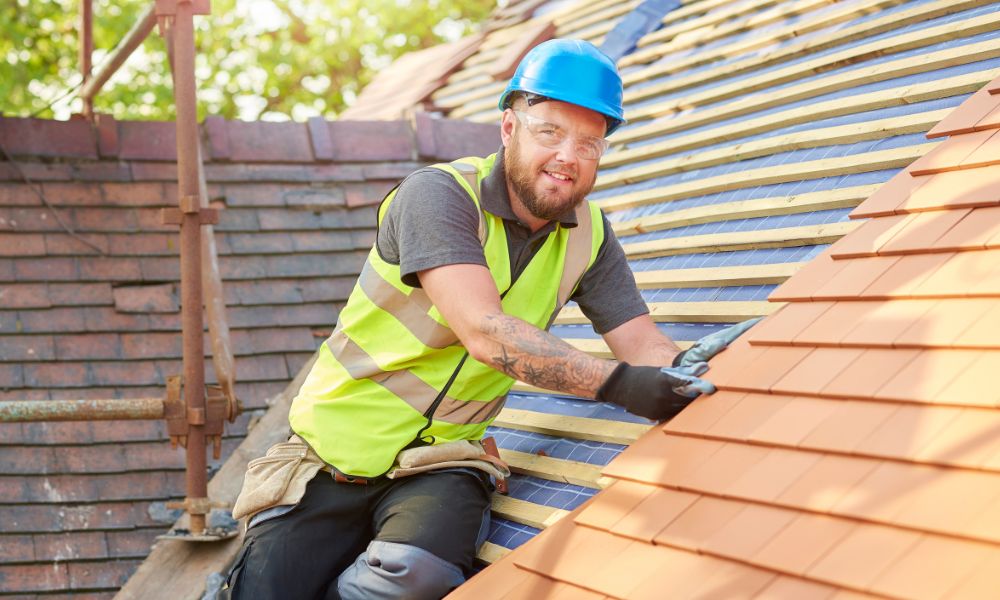
- Safety: Professional inspectors are equipped with the right tools and safety gear necessary for accessing hard-to-reach areas on your roof.
Cons:
- Costs Involved: The main disadvantage is the cost. However, considering that failing to spot minor problems early could potentially lead to major (and expensive) repairs down the line, many people view this expense as an investment.
In summing up, while DIY inspections can save money in the short term, hiring a professional could save more in the long term by ensuring that all potential problems are identified and addressed promptly. The choice between DIY and professional roof inspections ultimately depends on your budget, knowledge, and confidence in performing such a task. If DIY is your preferred choice, make sure to do some research to familiarize yourself with what to look for. However, for comprehensive inspection and safety, professional services are highly recommended.
Steps to Follow for Roof Repair in Brookeville, MD when Your New Roof Doesn’t Pass Inspection
Discovering that your newly installed roof didn’t pass inspection can be a significant setback. However, it’s important not to despair, as there are steps you can take to rectify the situation. A failed inspection doesn’t necessarily indicate poor craftsmanship; it could simply mean certain standards or regulations weren’t met during installation. Here’s a guide on what you should do if your new roof doesn’t pass inspection.
Understand why the Roof Failed Inspection
The first step after a failed inspection is understanding why it occurred. When an inspector assesses your roof, they follow a set list of criteria checking for defects or shortcomings that may lead to future issues. The inspector will provide you with a report detailing why the roof failed and areas that need rectification.
- Structural issues: This could involve problems with the framing of the roof, incorrect installation of sheathing material, or improper spacing of roof trusses.
- Material-related problems: These might include improperly nailed shingles, incorrect sealing around vent pipes or chimneys, inadequate underlayment installation, use of substandard materials.
- Code violations: Failure to meet building codes is another common reason for failed inspections. This typically involves issues like inadequate ventilation, not meeting wind resistance requirements or disregarding local building code stipulations.
Contact Your Contractor
Once you understand why the roof failed inspection, reach out to your contractor immediately. A reputable roofing contractor will stand behind their work and help address any issues identified during an inspection. Share the inspector’s report with them and discuss about possible solutions for each problem area.
Rectification Work
Your contractor should then perform all necessary repairs and modifications as outlined in the inspection report:
- Structural adjustments: The contractor may need to modify the framing or sheathing material in case of structural issues.
- Materials replacement: Shingles, underlayment, or sealing materials might need to be replaced if they were incorrectly installed or are of inferior quality.
- Code compliance: The contractor should ensure the roof meets all local building codes, including proper ventilation and wind resistance.
Schedule for a Re-inspection
After all the identified issues have been rectified, you should schedule for a re-inspection. It’s essential to ensure that all problems were effectively addressed and that your roof is now up to standard.
Keep Detailed Records
Keeping detailed records of all communications, inspections, and work done is crucial. In case of disputes or warranty claims in future, these will serve as your evidence.
Failed roof inspections can be frustrating, but they’re an opportunity to make sure your new roof is properly installed and up to code. By understanding why the inspection failed, working with your contractor to rectify the problems, and scheduling a re-inspection once these issues are resolved, you can be confident that your new roof is safe, secure and durable.
- Comprehensive Guide to Hiring Roofers in Brookeville, MD for New Roof Inspections and Post-Replacement Analysis
- Comprehensive Guide to Roofers in Brookeville, MD: Understanding Problem Areas and Conducting Roof Inspections
- Comprehensive Roof Inspection Strategies by Expert Roofers in Brookeville, MD to Avoid Expensive Energy Bills
- Highly Experienced Roofer in Brookeville, MD
- Discovering the Best Roofers in Brookeville, MD